Master Data and stock management in Yaapiyal Tex
This post will cover how the user should set up the master data and how to manage the raw material and product inventory in the Yaapiyal Tex solution.

Master Data Setup
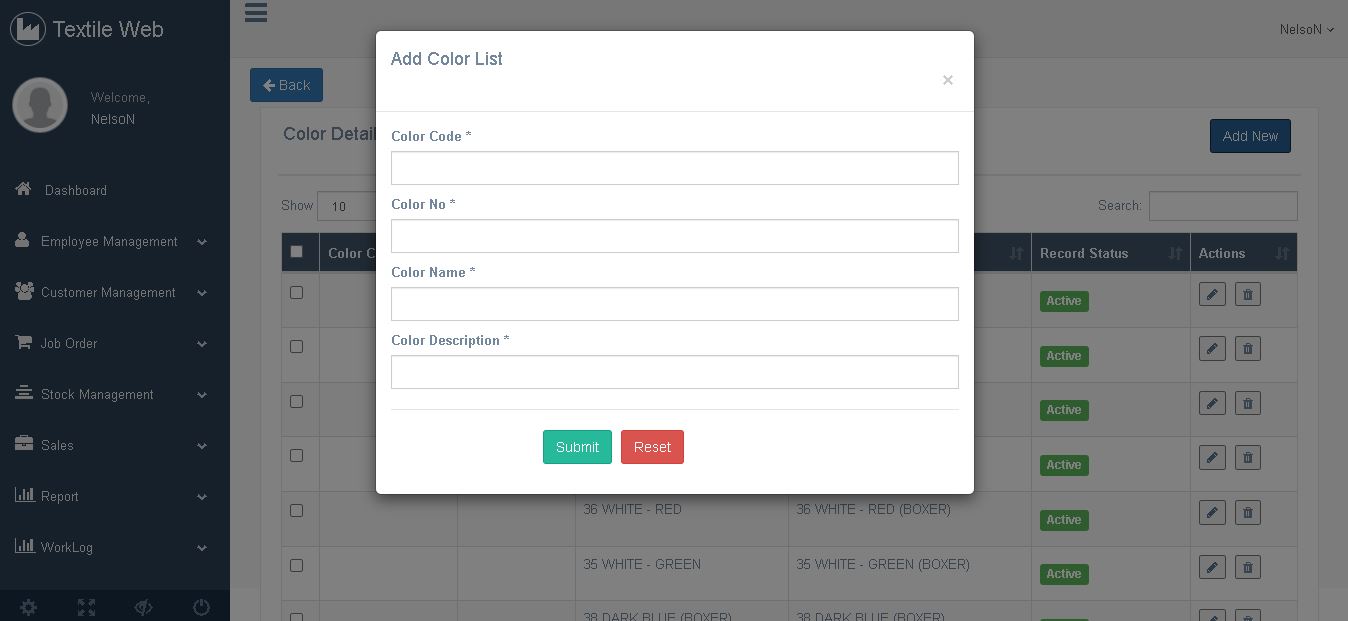
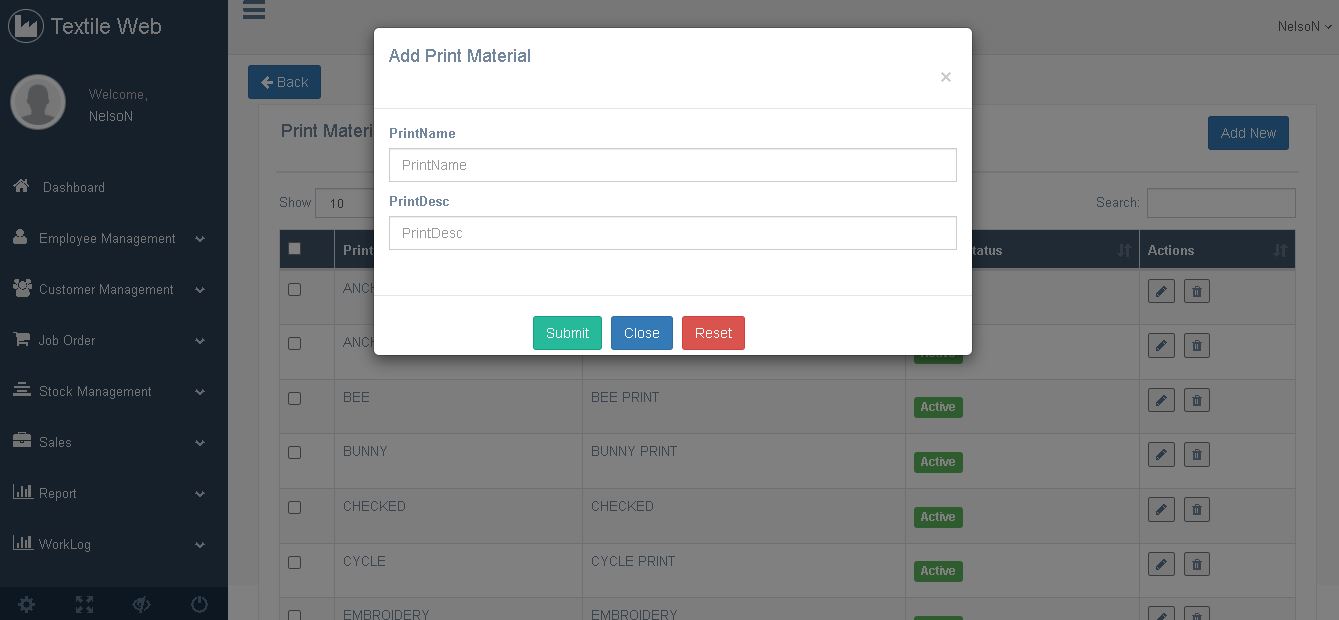
Setting up the master data is one of the important steps before starting to build the inventory or create a job order. To proceed with inventory and job orders, the user has to set up the master data first. The user can enter the master data screen by clicking the settings icon present on the left bottom of the screen. That screen will display various things like color, size, fabric, category, product, product price, and print material. The user has to enter into those screens and click add new to add a new color or size. For example, if I want to add colors in master data then I’ve to click on color first to enter the colors screen. Then by clicking on add new button, a popup will appear. In that popup, the user has to enter the color code, color name, description and save it. Likewise, the user can add other master data like size, fabric, category, product, price, print material.


Inventory management
The user has to maintain the inventory for raw materials and product and has to be aware of the quantity whether it is sufficient or not.
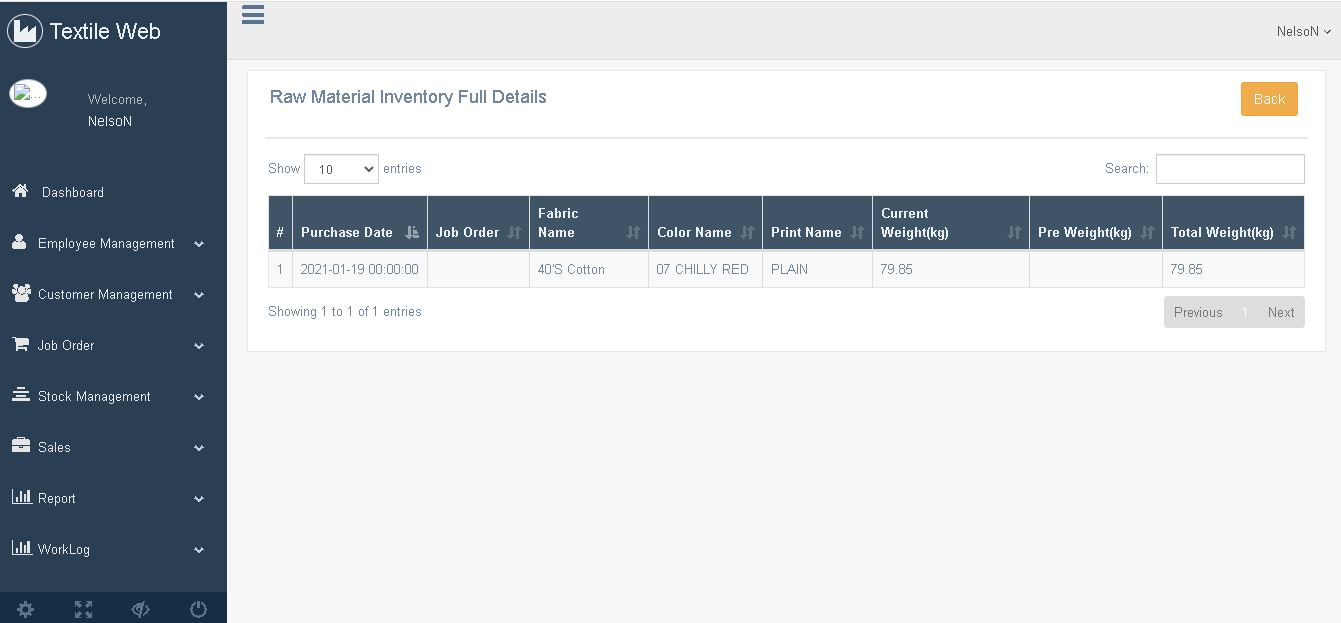
Raw material Inventory
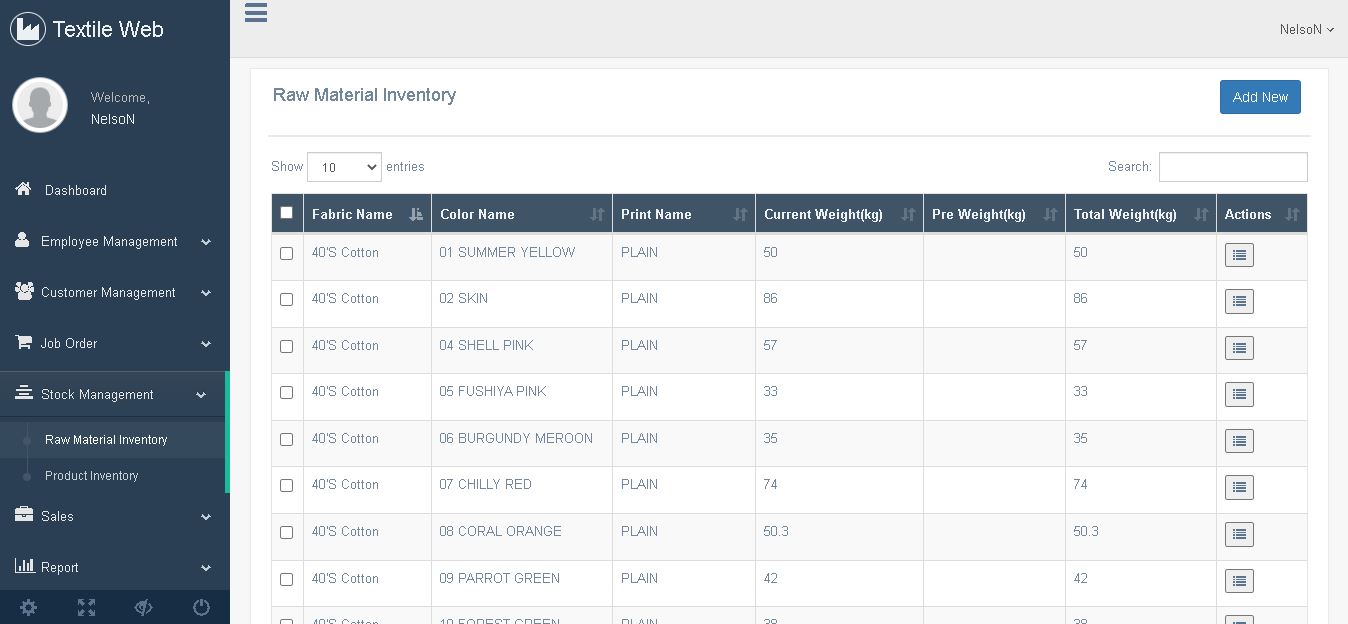
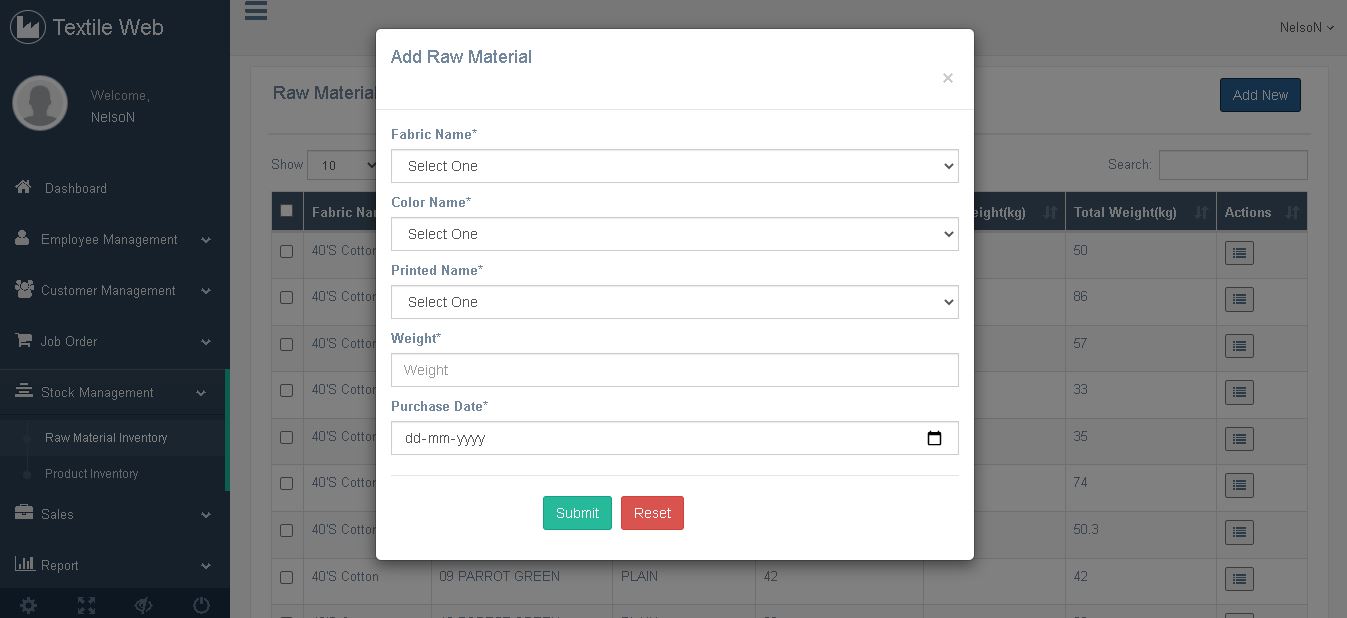
To enter the raw material inventory screen, the user has to click the raw material under stock management on the side panel. Firstly the user has to add all the raw materials they are using currently. To add the raw material to the application, click add new button. A popup window will display, where the user has to select the fabric name, color name, print name, weight, and purchase date. By clicking on submit button, the selected data will be saved. Every time the user purchases a new raw material stock, an entry should be made in the application as well to keep track of the process. There will be full details icon present on every row. By clicking on the icon, the user will be taken to a screen where the raw material usage can be tracked like how many kgs are used against which job order.
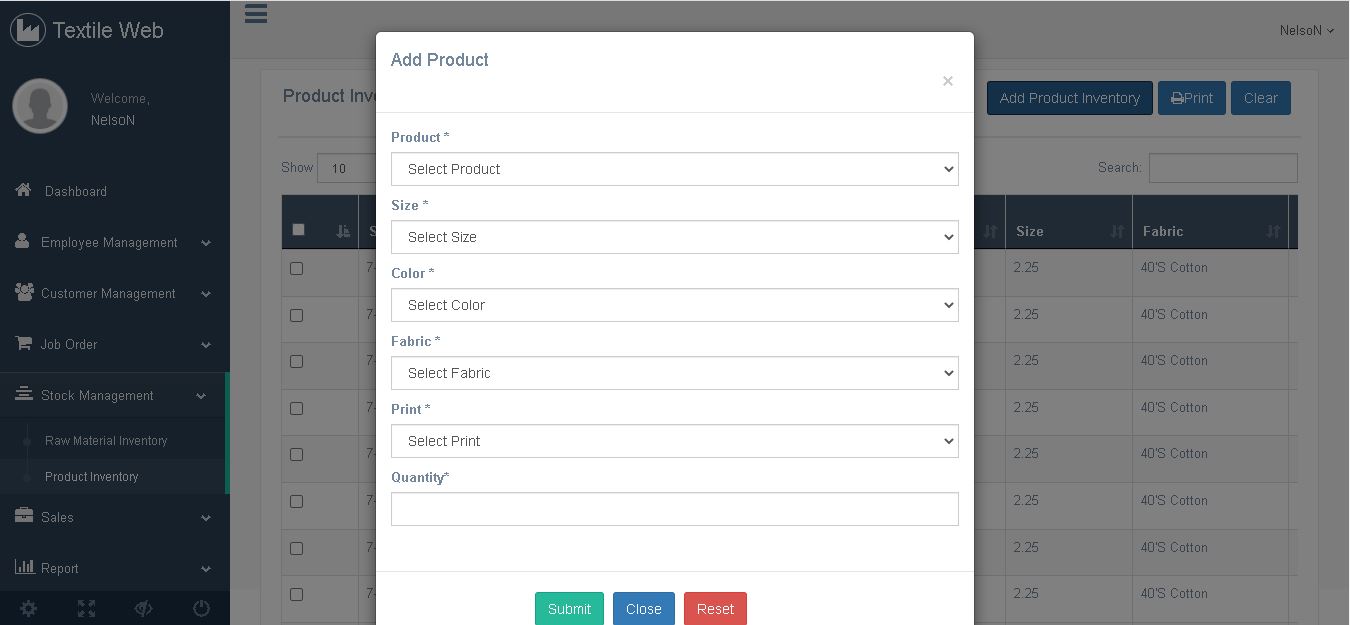
Product Inventory
To enter the product inventory screen, the user has to click the product inventory under stock management on the side panel. The user has to enter the initial stock of the available products. To do so click on the add product button. A popup window will appear in which the user has to select the product details like name, size, color, fabric, print, and quantity and click submit. Even the quantity is zero, the user can enter it as zero and save it. When the product comes out from the job order process, then the number is automatically added to the inventory. The screen will have prominent filters to find the products. On the right of every product, a print icon will be present. By clicking on it, the user can generate a product QR code.

Next steps
We will be posting about how to create job orders and how to create bundles and maintain sales in the next series of posts. If you are interested to try this product you can contact us via email jayadileepan.n@knowillence.com and schedule a demo of this tool.

N. Jayadileepan
Marketing Analyst
Jayadileepan handles presales at Knowillence Private Limited. He works with technology departments of various companies to understand their IT needs and answers them questions and validates the solutions. He has very good domain knowledge in textile industry.